I called my mother-in-law, Ammini, as I drove to work the other morning for our standard review of the kids’ schedules. After telling me the story of how my older son fell off his bike the day before, she came out with the loveliest statement any busy mom can hear: “I just cooked Rava Kichadi and Dad is making Chicken Curry with Chapati, so we’ll leave that for your dinner tonight.” Okay, maybe that exact line won’t ring bells for everyone. And if you’re raising your eyebrows at the unfamiliar sounding dishes, just know the main point of that sentence was: “Guess what? We cooked so you don’t have to!” And that is a beautiful thing.
From Kerala, (the southernmost state in India,) my in-laws are both fantastic cooks, and their traditional dishes are mouthwatering. Customarily, it’s often just the wife that cooks in an Indian household, but because Brian’s mom was a nurse working the night shift, his Dad had to make his way into the kitchen. Granted, since they both retired she’s back to doing 95% of the cooking, but Dad will jump in to make certain favorites. And I’m lucky because not only do they cater for our family on a frequent basis, but they’ve also been generous in sharing their experience and techniques so that I can make Indian food on my own. Before we got married, I remember going over to their house and I walked into the kitchen to find on the counter two cutting boards, two serious chef’s knives, and two whole chickens waiting to be broken down. I had mentioned in passing that I wanted to learn how to do it, and all of a sudden I had my own private master class waiting. (Okay, to be perfectly honest, it was fun and manageable at the time, but I still find myself buying already cut up pieces at the store. At least it’s something I know how to do!)
These days my lessons are more informal, and what just happened is a perfect example. After Ammini told me she was bringing dinner, she continued, “But the Rava Kichadi needs some chutney. So can you make that?” Chutneys are typically thick sauces that are made with fruits, herbs, spices, sugar, and acids like lemon juice or vinegar, and are used as condiments in Indian meals. They don’t require hard to find ingredients, and you don’t need to serve them with Indian food to enjoy them. And it’s a great way to use up fresh herbs that may be dying in your crisper. But truthfully, instead of just using the cilantro I had at home like any smart person would do, I decided I was in the mood for the mint and coconut chutneys that my favorite South Indian restaurant serves, so during my lunch hour I ran to a local farm-stand and picked up some fresh mint.
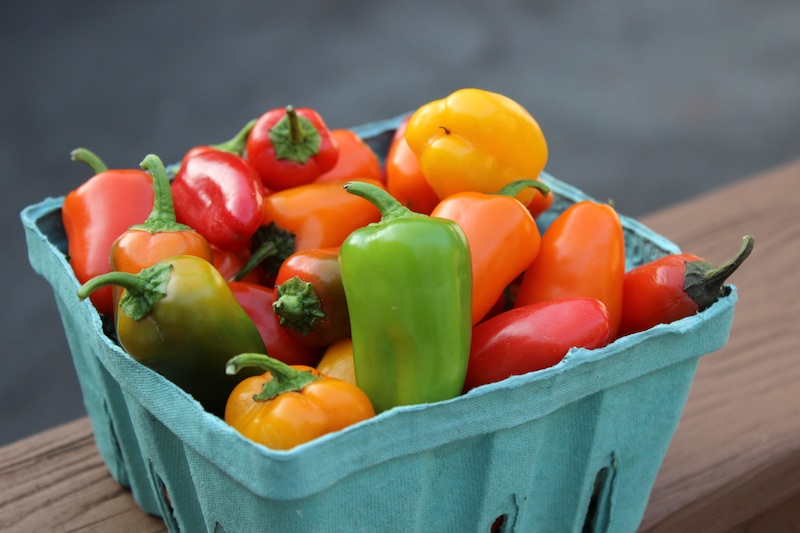
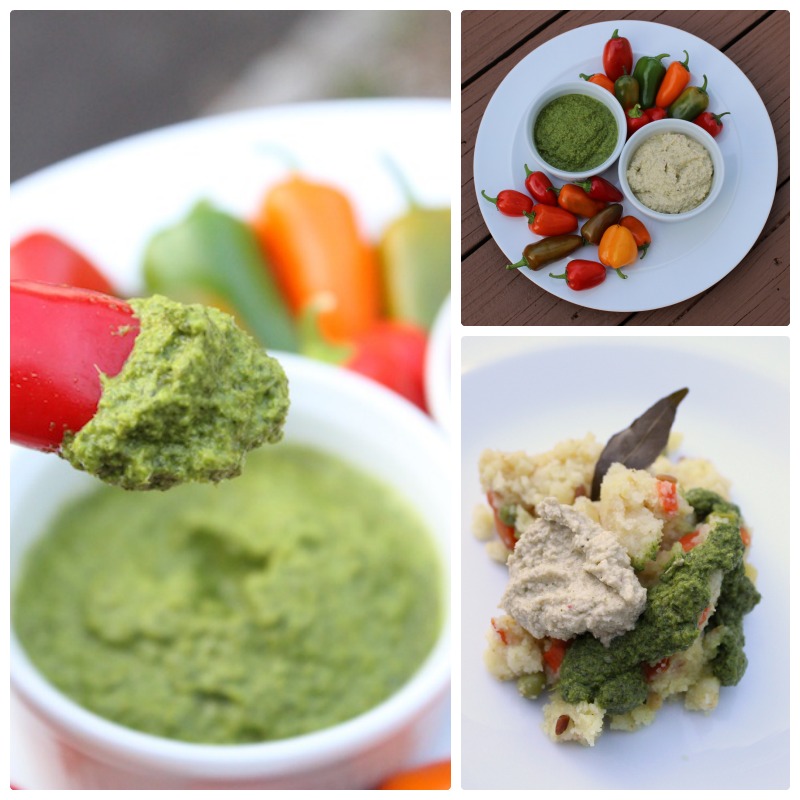
Of course, I got sucked in by all the gorgeous produce. Can you believe these peppers?!? They were called “lunchbox snacking peppers” on the sign, and I just could not resist them. Can you blame me?
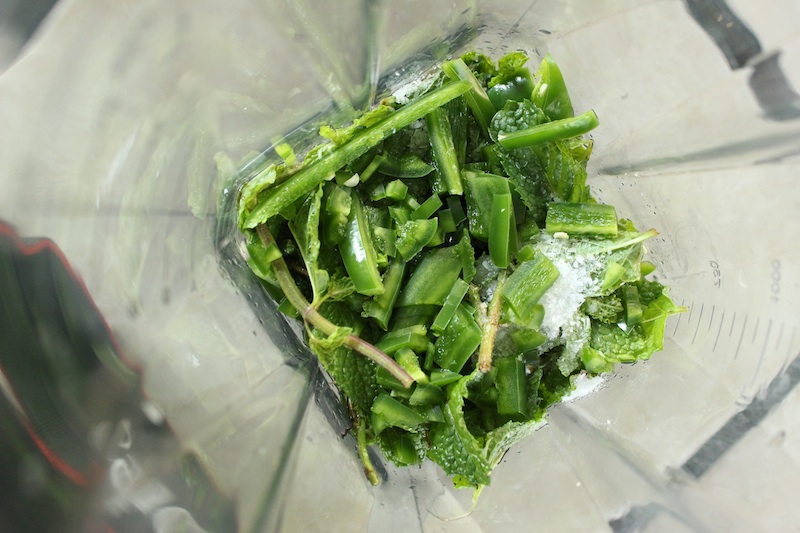
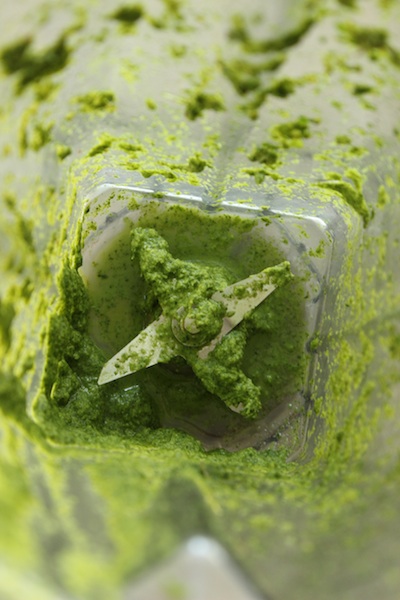
Even though Ammini and I had done a brief review of what I should throw in the chutneys when I got home, I asked if she would stay and guide me through it. (These grandparents are at my house everyday watching the kids, but unless I ask will rush out the second I walk through the door. I know, most daughters-in-law would dream of this setup, but I actually like their company.) I’m so glad she stayed, because she has such helpful tips, and now you can benefit from them too! I already knew to throw the mint leaves in the blender with the stems, but what I learned is that just like breaking off the hard woody part of asparagus, you can bend the mint stems and the tough bottom part will snap off just where you need it to. And it’s really important not to put all the ingredients in the blender at once, but to puree in two different steps. If you put the garlic and shallots in right away, the extended time in the blender will turn your chutneys bitter. You want to do that step after everything else is already smooth, and just for the shortest amount of time. And for the coconut chutney, I never would have thought to moisten the dried coconut with water before blending. But the best advice was to leave a thin layer of mint chutney in the blender before you make the coconut one to give it a boost of flavor. Less washing to do, and better taste?!? Brilliant.
Because the blender does most of the chopping for you, these Mint and Coconut Chutneys are fast and easy, and are healthy ways to bring flavor into your home with little effort. In less than ten minutes you can have dips to serve at a party, a side for steamed vegetables, and even a marinade for chicken or fish. Of course, they’re delicious on Rava Kichadi too. (And if you didn’t click on the link at the top that connects to a recipe, the dish is basically a jazzed up version of cream of wheat with spices, vegetables, and dal.)
Do you have a favorite Indian dish you would like to learn how to make? Let me know in the comments, and I’ll add it to the list of recipes to share. If I haven’t made it myself yet, it will be a perfect opportunity to expand my repertoire. I’m up for the challenge, and hope you are too!
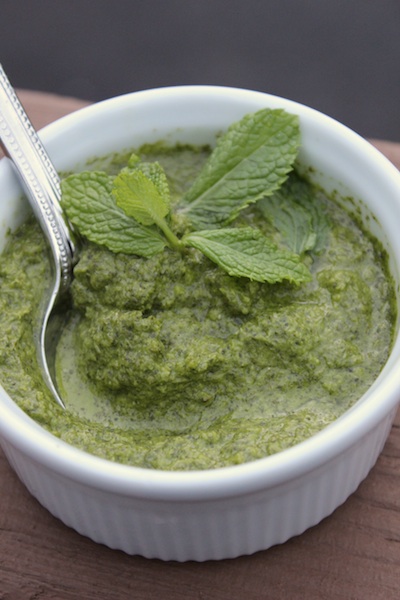
Mint and Coconut Chutneys can be prepared in just ten minutes in the blender, and provide a healthy way to add flavor to any meal quickly. A staple condiment in Indian cooking, these chutneys can be used as dips for raw vegetables, or as an accompaniment to fish and chicken.
Ingredients
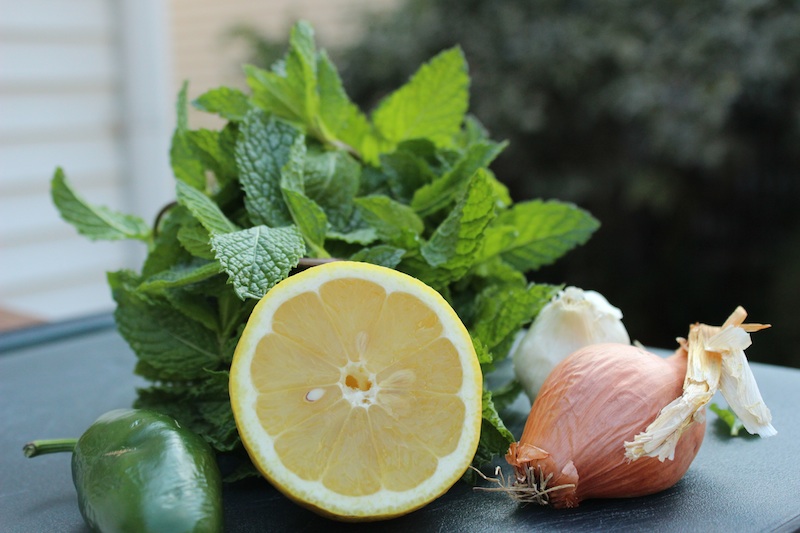
- 2 cups fresh mint (hard parts of stems removed, packed tightly, this is about 3/4 of a bunch)
- 1 jalapeño pepper (stem and seeds removed)
- 2 Tablespoons fresh lemon juice (from 1 lemon)
- 2 teaspoons sugar
- 1 teaspoon kosher salt
- 2 Tablespoons coconut oil (melted)
- 4 garlic cloves, peeled and roughly chopped
- 1 small shallot (or 1/4 of a small onion)
- (The leftover remnants of the mint chutney in the blender)
- 1 cup shredded unsweetened coconut (moistened with 2 Tablespoons of water if dried)
- 1/2 cup plain nonfat yogurt (regular or greek)
- 1 small red pepper, stem and seeds removed (or 1 jalapeño pepper, stem and seeds removed)
- 1 teaspoon salt
- 1 small shallot (or 1/4 of a small onion)
Instructions
Notes
*Yields 1/2 cup Mint Chutney, and 3/4 cup Coconut Chutney
**This recipe can easily be doubled or tripled, depending on the amount you need. When doubled, the Mint Chutney is an especially good marinade for baked chicken.
***Can't find coconut oil? Any neutral oil will do, like canola oil or even light olive oil, which doesn't have much flavor.
****Both chutneys will keep in the refrigerator for 5 days, but for any longer you can freeze them in small Ziploc freezer bags or tupperware. To defrost, run the Ziploc bag under warm running water, or simply let it defrost in the refrigerator overnight.

Thank you, Karen! Finally a solution to our excess of mint. Though it’s now out of our once-flower bed and into pots, there are only so many mint juleps one girl can drink!! Any chance tamarind chutney is equally easy?
Lisa, it’s my pleasure! And really, if you tire of mint juleps, there’s always mojitos, so there’s no need to panic at too much mint! At one point we had crazy amounts growing in our flower beds too, and I would throw it into everything. My standard was just a mint pesto with extra virgin olive oil, lemon juice, garlic, Parmesan and salt in the blender. I’d toss it on pasta or tilapia, and it is a bright and flavorful sauce. Pesto isn’t just for basil! In terms of the tamarind, it should be just as simple. I’m headed to the Indian store in a couple of days so I’ll pick some up and let you know!
Love the blog and all the pictures! Looking forward to reading more.
Thanks, Rita!
These look amazing (and I know that they are)! As for what Indian food to try cooking next? Call Mom and GET THE KHEEMA ON HERE.
Carol, I’m on it! As one of my all time favorite dishes, it’s been on the list since before Tasty Oasis even began.